Showing posts with label basics. Show all posts

Saturday, March 17, 2012

Point and Shoot Camera Neck Strap


I love taking pictures! And if you follow me on twitter (which you should, just click the button with the bird to the right) Then you know that I just got a new 1-hour battery charger for my camera. Usually it takes my camera battery 5 hours to charge! So if I don't prepare ahead of time there is no way I'm getting to take any pictures. 

In light of this new camera charger coming I decided to make a neck strap for my camera. The little wrist strap that came with it just doesn't cut it for me. If we're out and I'm chasing down a kid, or pushing someone on a swing, I can't have my camera on my wrist. But a neck strap is perfect for me!

I didn't measure the length I needed for the strap, and then ended up having to take it apart and add an extra piece for length. So measure out the length that's best for you before you cut anything! For me 35 inches was best. Cut two pieces of material 3 inches wide and half the length you measured. Sew those two pieces right sides together along the short side. Then sew it right sides together down the long side.


Turn it right side out.


Take apart the wrist strap that came with your camera. 


Cut down the end of your new strap so it can fit inside the plastic piece.

Slide the small string piece that wraps around the little bar on your camera, onto one of the new straps. 


Stitch a portion of the small piece of your strap closed. Then pull the stringy piece down and stitch the rest closed. I used a zigzag stitch so that I could sort of "fake a serge" around the edges. 


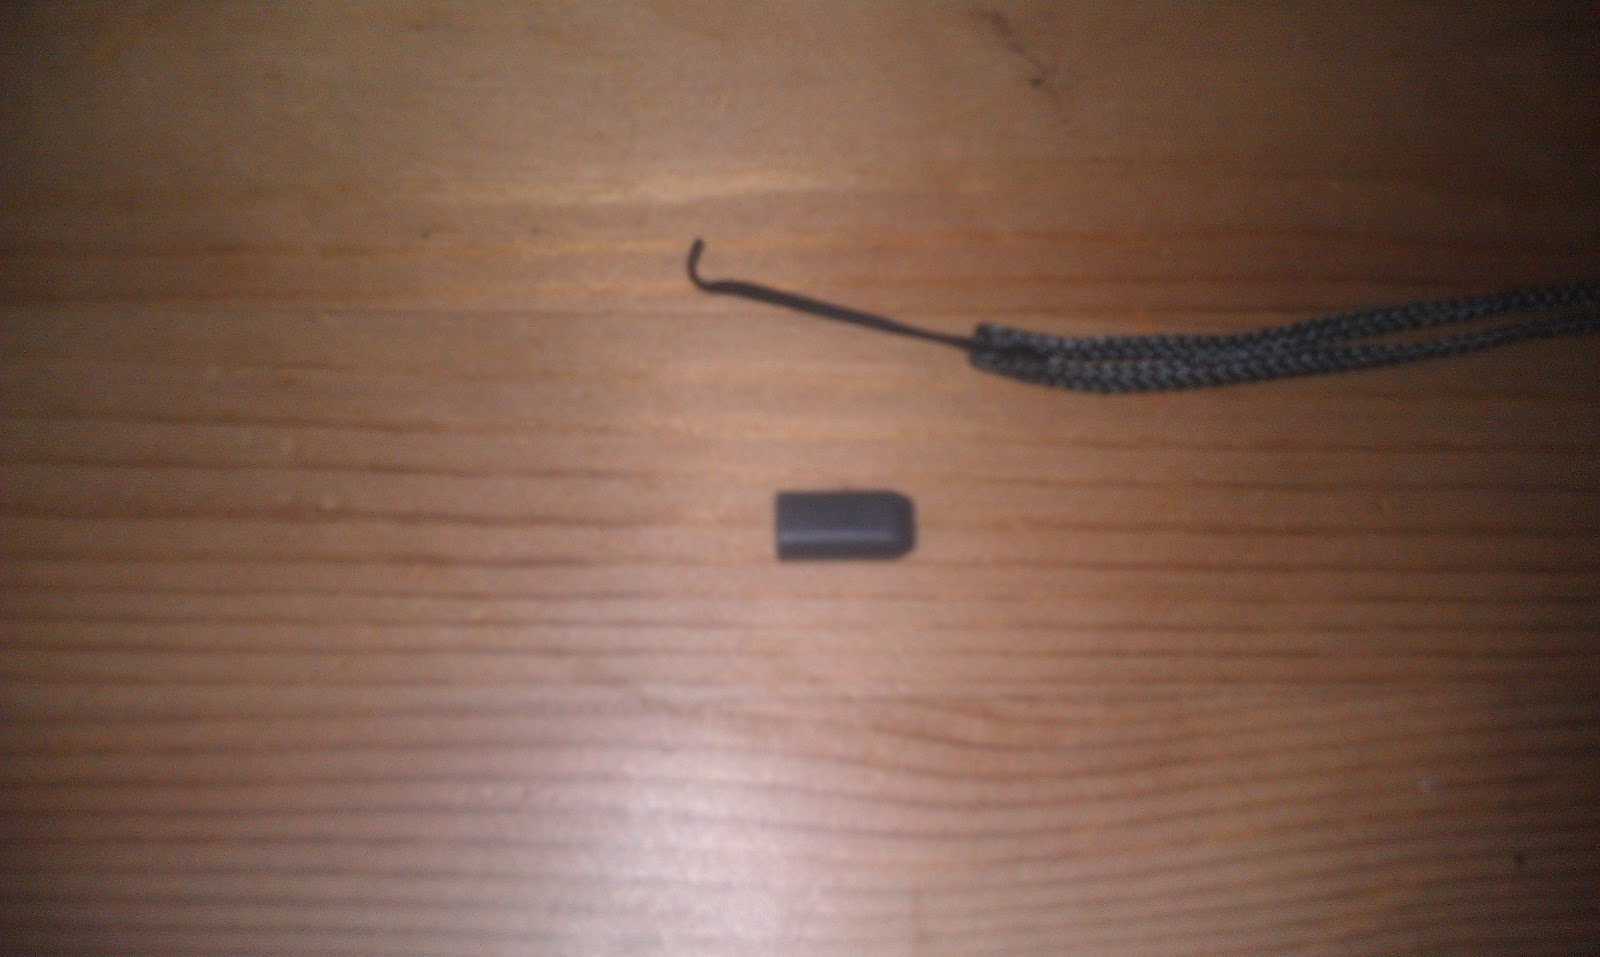
Now thread your strap through the plastic piece, I used a hair pin to pull it through, and attach it to your camera! 


What do you think?
Pin It!

Wednesday, March 14, 2012

DIY: Fabric Refresher

Source

I don't know about you, but around here I'm constantly needing a to refresh something. Whether it's our couch, carpet, or curtains. With two kids things get messy and start to not smell so fresh. It's normal in our house to keep a bottle of fabric refresher spray on hand. But to be honest I don't like the smell of them. Or spending the money on them. So I decided to create my own! 

It was really easy to make and it's safe on pretty much any fabric (do a fabric check before hand just to be sure).  All you need is a spray bottle, baking soda, and your favorite fabric softener. 


First I put about two tablespoons of baking soda in a water bottle.


Then I added 12oz of fabric softener.


Lastly I added warm water to the mix and shook it up. 


That's it! It couldn't any easier. The baking soda absorbs any odors and the fabric softener leaves a nice fresh smell. I love using this stuff and the scent lasts longer than most commercial fabric refresher sprays. This has become my secret cleaning weapon. After I finish cleaning my living room I give my couch and curtains a quick spritz and the house smells great!


Is this something you would try?


I'm linking up at:
Katie's Nesting Spot
I Heart Nap Time
Pin It!

Friday, March 9, 2012

The 15 Minute Maxi Skirt


This skirt is so easy and it only takes about 15 minutes to make! 

To start I cut a piece of material, on the fold, to the length that I wanted it. In this case to my ankle, about 38-40" from just above my hips. I then measured around where I would be wearing it. For me that is just above my hips, so it wouldn't be my usual waist measurements. We'll call this measurement A. Next I measured out half of "A" across the top of my fabric. I began slowly cutting on a diagonal at the end of "A", until I met with the end of the fabric. 


Then I cut out a rectangular piece, on the fold, 10" wide and half the length of "A". Next I sewed up the edge of my long skirt piece and the edge of my waist band, with a straight stitch. 


After that I folded the waistband in half. 


Then I turned the skirt right side out and put the waist band piece on the outside with the folded edge down. And pinned it in place.

From there I just did a zig zag stitch around the top to allow for stretch. That's it! If you want to hem the bottom you can but knits don't fray and they usually end up rolling. 


I'm linking up here
(Mommy by Day Crafter by Night)


And I'm linking up here
(Crafty Cousins)

and here!
Blog Hop Button March Blog Hop: Fashionable Crafts + Giveaway!


Pin It!

Wednesday, March 7, 2012

Men's Dress Shirt Refashion


My husband had this lavender dress shirt he wasn't wearing and our newly painted living room needed some color. So I figured a refashion was in order :o)


I started by cutting the top and bottom off of the shirt. If you want a taller pillow you could cut it closer under the arms. But that's not the look I was going for.


Then I just  turned the shirt inside out and sewed up the sides, leaving an opening so I could stuff it. I also sewed the button portion closed. While the shirt is inside out you'll be able to see where the two sides meet. You don't want the seam to show, you just want it to look like a buttoned up shirt.


Next I turned it right side out, stuffed it, and sewed the opening shut. I used filling from an old pillow to stuff it. So I had to really fluff it once it was all stuffed, because it was really lumpy. If you buy stuffing for it then you'll get a much smother look.


This is what I ended up with. 


You can cut the shirt to be any size pillow you want, I just personally like the jelly roll look. 


Pin It!

Friday, March 2, 2012

Dress Success!

I did it! And I'm so stinking excited! I made a wearable dress! This was less of an on a whim type of thing. I saw a dress online that I liked and then I drew it out and broke it down in to pieces. My dress doesn't look like the original one because I used a totally different type of fabric, and I changed a few things, but it was a great starting point.

I used a knit fabric that I found at JoAnn's on red tag sale. I'm normally not an animal print type of gal, but, I thought I could make some really cute leggings for my girls. Once I went to get it cut there was only like 3 yards on the bolt so I just decided to buy it all. Yay for that decision because now I have a new dress!

To make this dress I used some of the same, successful, techniques that I used to make my first dress. I took my measurements and measured the the space between the dress collar and where I wanted the top piece to end. Then I took my hip and length measurements. Both pieces were rectangles cut to match my measurements. The sleeves were rectangles cut to the length I wanted and the width of my upper arm. To make the collar I folded my top rectangle in half and then cut out a piece.


When I opened it up it looked like this:

Then I just pieced everything together and sewed it all up. 


I ended up cutting my collar space too big so I made a facing for it and then threaded elastic through to pull it up.

finished collar

I also added elastic to the portion just under the bust to pull it in more so it would be fitted and less bag like. I have so many ideas for cute summer dresses I just need to find the right fabric. I seriously love sewing! :o)

Pin It!

Thursday, March 1, 2012

Working with Knits!

The first time I ever tried to sew with a knit fabric it. was. a. disaster. The fabric got all stretched out, the hem was too thick, and the thread kept popping. Clearly I had no idea what I was doing. But I didn't let that deter me and I decided to try again.

As I've mentioned I'm sewing through Brett Bara's book Sewing in a Straight Line. In her book she has a very cute cardigan that is made from, you guessed it, a knit fabric. So I went out and I found a very nice knit fabric that went really well with the fabric I got for my one hour skirt.


I'll admit I was really nervous because it was the first time I had made a top, and obviously because I was working with knits. But I think it came out pretty good. 


Now that I've completed this project I'm actually a huge fan of knits! There are just some things that you have to do to make it successful:

  1. Let the fabric move at it's own pace, you can't rush knits.
  2. Don't tug on the fabric as you're sewing, that will stretch out your fabric.
  3. Use a zigzag stitch or another stretch stitch.
  4. Leave your hems undone if you're nervous about hemming, knits don't fray! :o)


Pin It!

Thursday, February 23, 2012

Making Time for Mending: Zippers

Inserting zippers is a necessary skill for any seamstress. When I first tried to insert one I had a really hard time but now it's much easier and since I had a skirt that needed a new zipper I figured why not blog about it. So this is just a quick tutorial of removing and replacing a zipper.

This is the original zipper and as you can see it was ripped and so I couldn't zip this skirt all the way up.

I took a seem ripper and just started to slowly pick at the seams to loosen and remove the zipper.


I then took the new zipper, unzipped it, and pinned it into the skirt. I was careful to make sure that I put it in with as much showing as the one I took out. 


Then I sewed it in removing the pins as I went. I lined up my zipper foot with the zipper teeth to make sure that I wasn't sewing too close to, or too far away from, the teeth. Because sewing too close would prevent the zipper from zipping, and too far away would make it too loose. 


And that's it. It's that simple. Now I have a wearable skirt again! 


Pin It!

Tuesday, February 21, 2012

Super Quick Skirt!


This tutorial is a project from Brett Bara's book Sewing in a Straight Line. This is her One Hour Skirt, although I don't think it actually took me an hour. It's a pretty straight forward elastic waist skirt. 

First you need to take your measurements and cut your fabric. For this type of skirt you really just need your hip measurements and your measurements for length. In the book the skirt length is above the knee, but I wanted a longer skirt so I cut my fabric a little longer. Your hip measurements will be how wide you need to cut your fabric. 

Once you cut out your pieces you'll stitch them together at the sides using a French Seam


After you have both sides finished it's time to make your elastic casing and hem your skirt. To make an elastic casing you fold your fabric over 1/4"  press then fold again 1/2" (or however much space you will need for your elastic) and top stitch it, leaving a space to thread your elastic. To hem your skirt you just repeat the process but don't leave an opening. 


Now that you've finished the casing and the hem you're pretty much done. Just thread your elastic through, using a safety pin as your "needle".

Then sew the elastic ends together.


Stretch out the skirt to cover up all the elastic, and close your casing opening.


 That's it! Now you have a super cute (and comfy) skirt. 

If you want to see a video of the dress being made HERE is a link of Brett Bara making this project.


Pin It!