Showing posts with label tutorial. Show all posts

Wednesday, March 21, 2012

DIY: Plastic Bag Holder


I try to carry reusable bags when I remember, but, there are times when I forget. Or when my hubby has to pick up some things on his way home from work. So we have a lot of plastic bags around our house. I had been keeping them in a bag in the kitchen but I was having to take all the bags out just to get one. While we were at the grocery store the other day I spotted some plastic bag holders and figured I could just make my own! This is another project that I just used fabric scraps that I had in my stash.

 To start I took two pieces of fabric 8 inches wide and 20 inches long and sewed them right sides together. On one side I left some room at the top so I could create a space to hang it from.


Then I hemmed the edges of those pieces.


Next I stitched a portion of the top closed.


After that I just made an elastic casing, on each side, and added 8 inch elastic pieces. That's it, easy peasy, this whole project took me maybe 10 minutes to complete and now the plastic bags in my kitchen are organized! 


I'm linking up at:


Organize and Decorate Everything
Pin It!

Saturday, March 17, 2012

Point and Shoot Camera Neck Strap


I love taking pictures! And if you follow me on twitter (which you should, just click the button with the bird to the right) Then you know that I just got a new 1-hour battery charger for my camera. Usually it takes my camera battery 5 hours to charge! So if I don't prepare ahead of time there is no way I'm getting to take any pictures. 

In light of this new camera charger coming I decided to make a neck strap for my camera. The little wrist strap that came with it just doesn't cut it for me. If we're out and I'm chasing down a kid, or pushing someone on a swing, I can't have my camera on my wrist. But a neck strap is perfect for me!

I didn't measure the length I needed for the strap, and then ended up having to take it apart and add an extra piece for length. So measure out the length that's best for you before you cut anything! For me 35 inches was best. Cut two pieces of material 3 inches wide and half the length you measured. Sew those two pieces right sides together along the short side. Then sew it right sides together down the long side.


Turn it right side out.


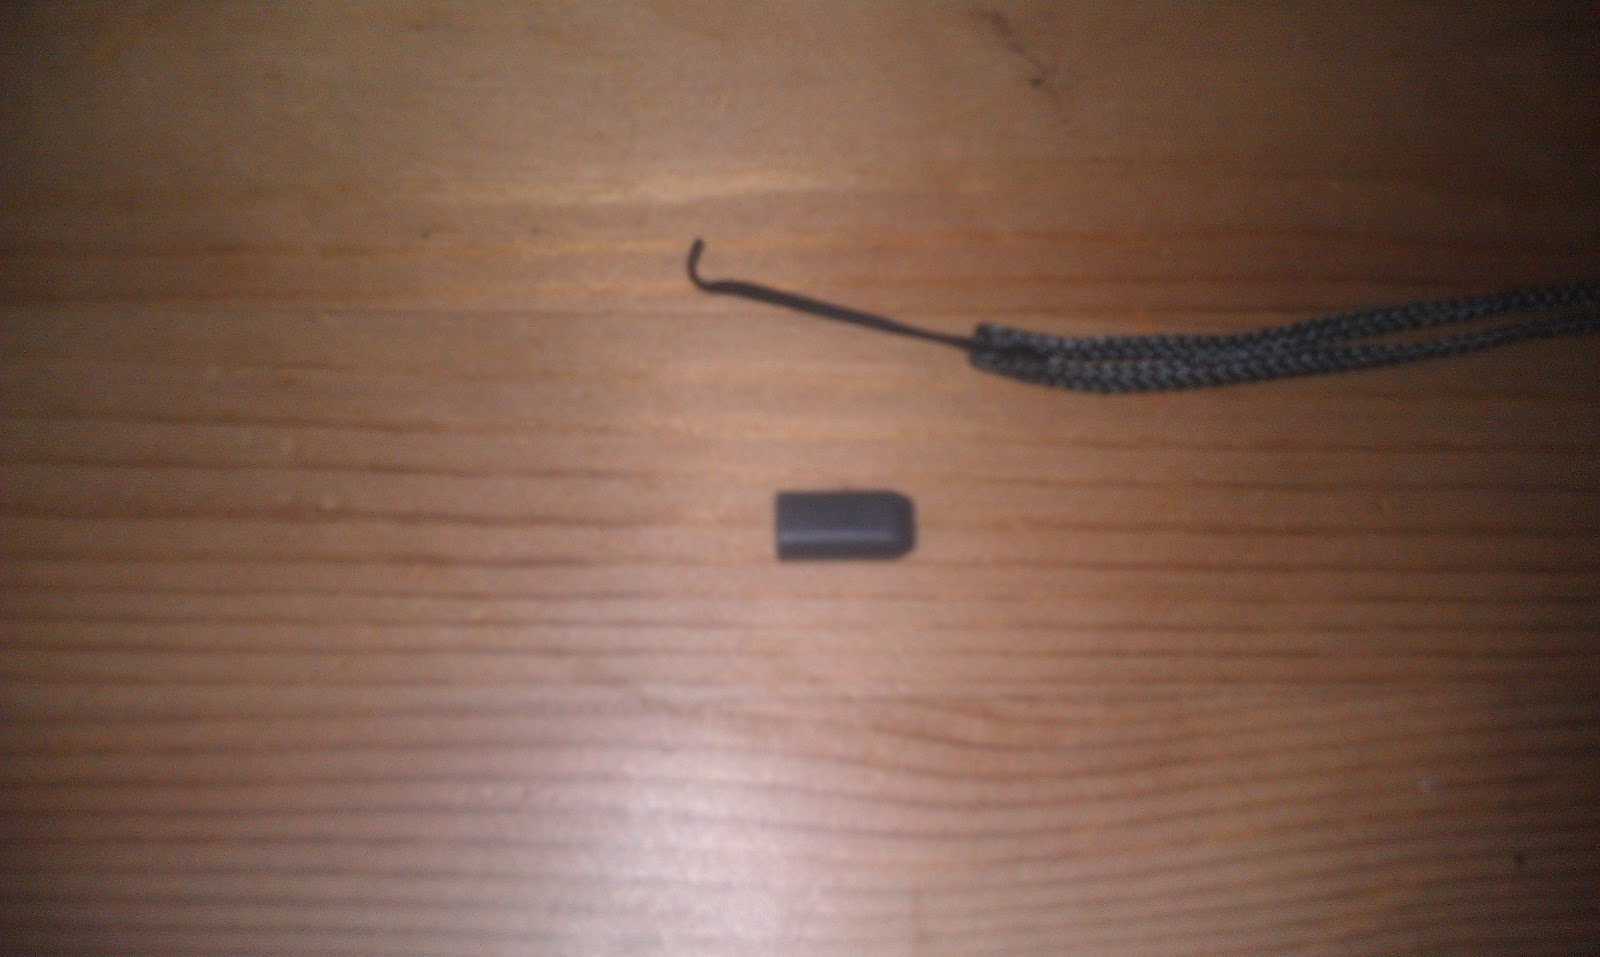
Take apart the wrist strap that came with your camera. 


Cut down the end of your new strap so it can fit inside the plastic piece.

Slide the small string piece that wraps around the little bar on your camera, onto one of the new straps. 


Stitch a portion of the small piece of your strap closed. Then pull the stringy piece down and stitch the rest closed. I used a zigzag stitch so that I could sort of "fake a serge" around the edges. 


Now thread your strap through the plastic piece, I used a hair pin to pull it through, and attach it to your camera! 


What do you think?
Pin It!

Friday, March 16, 2012

DIY: Pin Cushion Bracelet


I don't know about you but when I'm sewing, and pulling out pins, I struggle to stick the pin in my pin cushion. I end up having to stop and hold the pin cushion still, which is frustrating. Now maybe that only happens to me, but either way, I decided to make myself a pin cushion bracelet! You can make this in basically any shape you want but this tutorial is for the heart shaped one. I used fabric scraps that I had in my stash to make this, so if you have scraps this is a great way to use them up. Here's how I did it.

To start I folded a piece of fabric in half and pinned it so it wouldn't shift. Then I outlined half of a heart onto the fold of it.


Next I cut the heart out. Then I lined it up on another portion of the fabric (still on the fold), pinned it, and cut it.


I decided I wanted to add a decorative pocket so I took another fabric I had and started it out the same as I did for the other pieces. But instead of cutting out the whole shape I stopped short and cut across.


I ended up with three pieces like this.


Next I hemmed the top of the triangular piece (I only folded it over once because I didn't want it to be bulky).


Then I cut a piece of elastic to my wrist size, and stitched it to the back. I used a straight stitch, but I went back and forth a few times.


I'm not good at keeping my lines straight when I sew backwards lol 


After that I stitched the elastic closed. You can use a thinner elastic, elastic in a fabric casing, or even use fabric with velcro closures to make these. I just liked the look of the thick white elastic.

After that I layered the pieces. The front piece and the pocket piece I laid right side up. The back piece I put wrong side up. Then I pinned it and stitched up the whole thing leaving a small space at the bottom to turn it right side out.


Then I stuffed it and stitched the opening shut.


and that's it!


What do you think?


monogram


Pin It!

Thursday, March 15, 2012

DIY: Book Sling


I saw this when I was looking around on Pinterest and just knew I had to make it. All the tutorials I saw for this required that the sling be bolted to the wall. Like this one I found at Penny Carnival, which is what I based my sling portion off of.  But we rent and can't really do much to change how our place looks. So I figured out a way to put the sling up, without messing up the walls. 


To start you need to gather your supplies. For the sling you need fabric, wooden dowels, thread, and pins. For mounting it to the wall you need two double rod brackets, some sort of wall safe adhesive, and wood to act as a buffer. I used Oval Rossette fittings. 

For the sling portion I just took some fabric sewed it up right sides together, snipped the corners (to reduce bulk), turned it right side out, and top stitched the opening closed. here are some pictures to help you see what I did. 


Then once that was all sewn up I used the dowels to measure out the casing.


After I finished up the sling I started on the mounting. I took my wood piece and my rod brackets (that I got at walmart for $.97!) and put them together. If you get a different kind of bracket just attach it to the wood as you would to the wall.


Then I took my UGlu (that I won in a giveaway! Yay!) and attached it to the back of the wood. You can use any kind of wall safe adhesive just make sure that it will hold the weight of the books.


 Next I measured the space where I wanted to put the sling and "glued" the wood with the brackets to the wall. I ended up with a great storage solution and a cute addition to my girls' play space! 


What do you think would you make this? 


I'm linking up at:

and

Somewhat Simple 
and

Photobucket
Pin It!